# MySQL运维事件处理
# 运维事件发生-创建数据库并下放权限给普通用户
# 事件描述
生产环境发现今天某个表的业务数据丢失,需要从昨天的全量备份中恢复数据。需要在测试环境创建一个临时库用于给DBA恢复数据。
# 事件处理
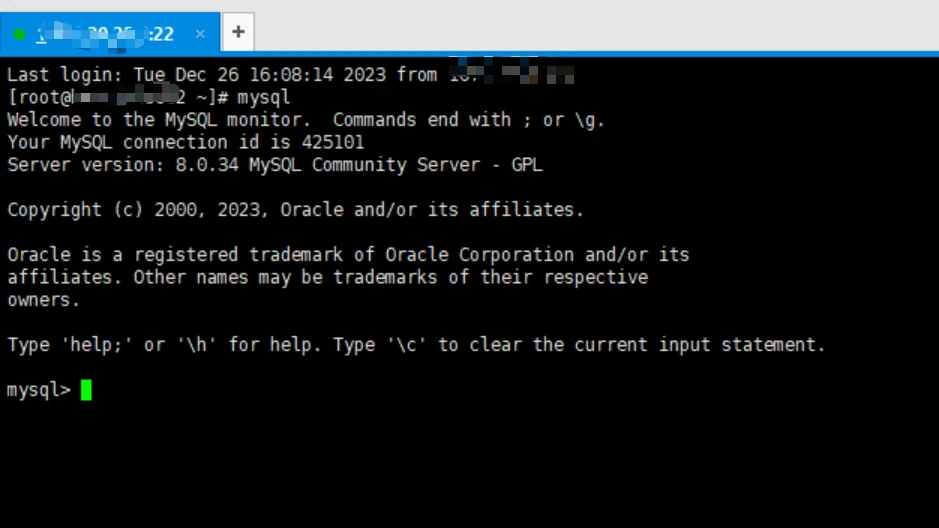
使用root用户登录测试环境MySQL服务所在主机,在bash中输入mysql指令后敲回车,进入mysql服务。
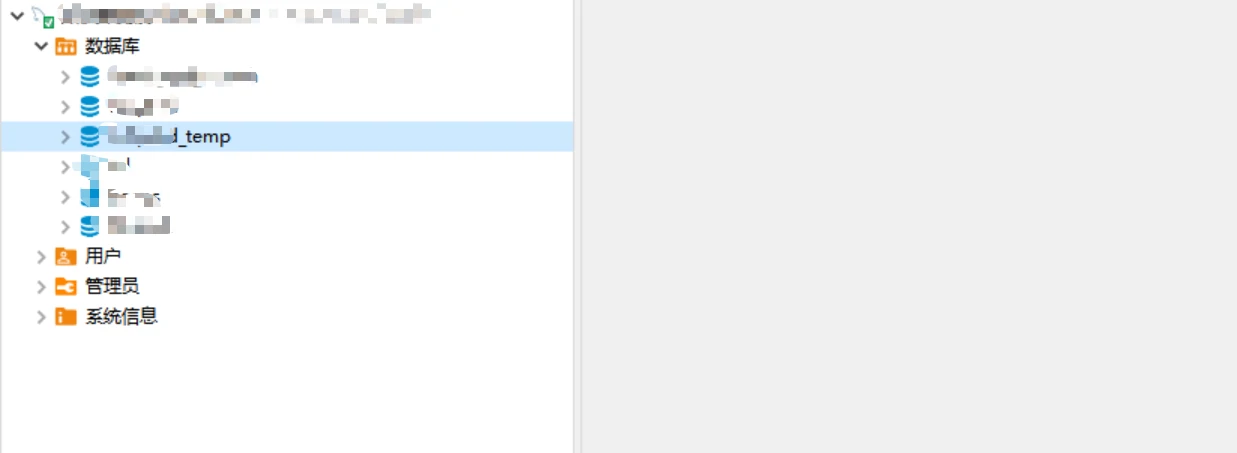
使用数据库创建指令创建临时数据库。
mysql> create database test_temp;
Query OK, 1 row affected (0.00 sec)
使用普通用户test登录mysql后,发现并不能看到新创建的test_temp数据库。原因在于root用户创建的数据库,普通用户并不能直接访问,需要下放权限给普通用户后才能访问。

查看系统中现有的用户信息
mysql> select user,host from mysql.user;
+------------------+-----------+
| user             | host      |
+------------------+-----------+
| test             | %         |
| root             | %         |
| mysql.infoschema | localhost |
| mysql.session    | localhost |
| mysql.sys        | localhost |
+------------------+-----------+
5 rows in set (0.01 sec)
查看test用户所拥有的权限。
mysql> show grants for 'test'@'%';
+---------------------------------------------------------------------------+
| Grants for test@%                                                        |
+---------------------------------------------------------------------------+
| GRANT USAGE ON *.* TO `test`@`%`                                         |
| GRANT ALL PRIVILEGES ON `test`.* TO `test`@`%`                           |
+---------------------------------------------------------------------------+
2 rows in set (0.00 sec)
赋予test用户拥有test_temp库的所有权限。
# 执行完授权指令后可以查看下test的授权
mysql> GRANT ALL PRIVILEGES ON `test_temp`.* TO 'test'@'%' WITH GRANT OPTION;
Query OK, 0 rows affected (0.01 sec)
权限下放完成后,test用户就可以看到test_temp知识库,同时可以对该库做增删改查等操作了。
如果不需要某些权限的时候,也可以使用revoke指令收回权限。
mysql> revoke ALL PRIVILEGES on `test_temp`.* FROM 'test'@'%';
Query OK, 0 rows affected (0.00 sec)
# 运维事件发生-测试环境数据库的备份与还原
# 事件描述
生产环境本次发版风险较大,考虑备份数据库,如果发版有异常,及时回退。因此需要备份以及还原数据库。生产环境有自动备份机制,但是还没验证过备份文件是否可以还原。因此需要在测试环境操作验证。
# 事件处理
# 创建临时库用于数据还原
测试环境参照运维事件发生-创建数据库并下放权限给普通用户创建一个临时库leopard_temp,并且将权限下发给普通用户test。
# 还原数据库
[root@TEST ~]# cd /backup
[root@TEST backup]# mysql leopard_temp < /backup/leopard-21434_20240126.dmp
# 备份数据库
[root@TEST ~]# cd /backup
[root@TEST backup]# mysqldump leopard_temp > /backup/leopard_temp.dmp
# 运维事件发生-基于docker搭建mysql主从集群
# 事件描述
基于docker以及mysql5.7搭建mysql一主一从的集群。
# 事件处理
# 1.拉取mysql5.7镜像
[root@VM-8-5-centos ~]# docker pull mysql:5.7
5.7: Pulling from library/mysql
20e4dcae4c69: Pull complete
1c56c3d4ce74: Pull complete
e9f03a1c24ce: Pull complete
68c3898c2015: Pull complete
6b95a940e7b6: Pull complete
90986bb8de6e: Pull complete
ae71319cb779: Pull complete
ffc89e9dfd88: Pull complete
43d05e938198: Pull complete
064b2d298fba: Pull complete
df9a4d85569b: Pull complete
Digest: sha256:4bc6bc963e6d8443453676cae56536f4b8156d78bae03c0145cbe47c2aad73bb
Status: Downloaded newer image for mysql:5.7
docker.io/library/mysql:5.7
# 查看镜像,可以看到mysql5.7的镜像
[root@VM-8-5-centos ~]# docker images
REPOSITORY   TAG       IMAGE ID       CREATED        SIZE
mysql        5.7       5107333e08a8   3 months ago   501MB
# 2.基于mysql镜像启动mysql-master容器
# --name 指定镜像名称
# -p 3366:3306 使用宿主机的3366端口映射docker容器的mysql的3306端口
# -e MYSQL_ROOT_PASSWORD 指定root账户的密码
# -d 守护进程执行
# mysql:5.7 使用的docker镜像的版本
docker run --name mysql-master -p 3366:3306 -e MYSQL_ROOT_PASSWORD=123456 -d mysql:5.7
# 3.基于mysql镜像启动mysql-slave容器
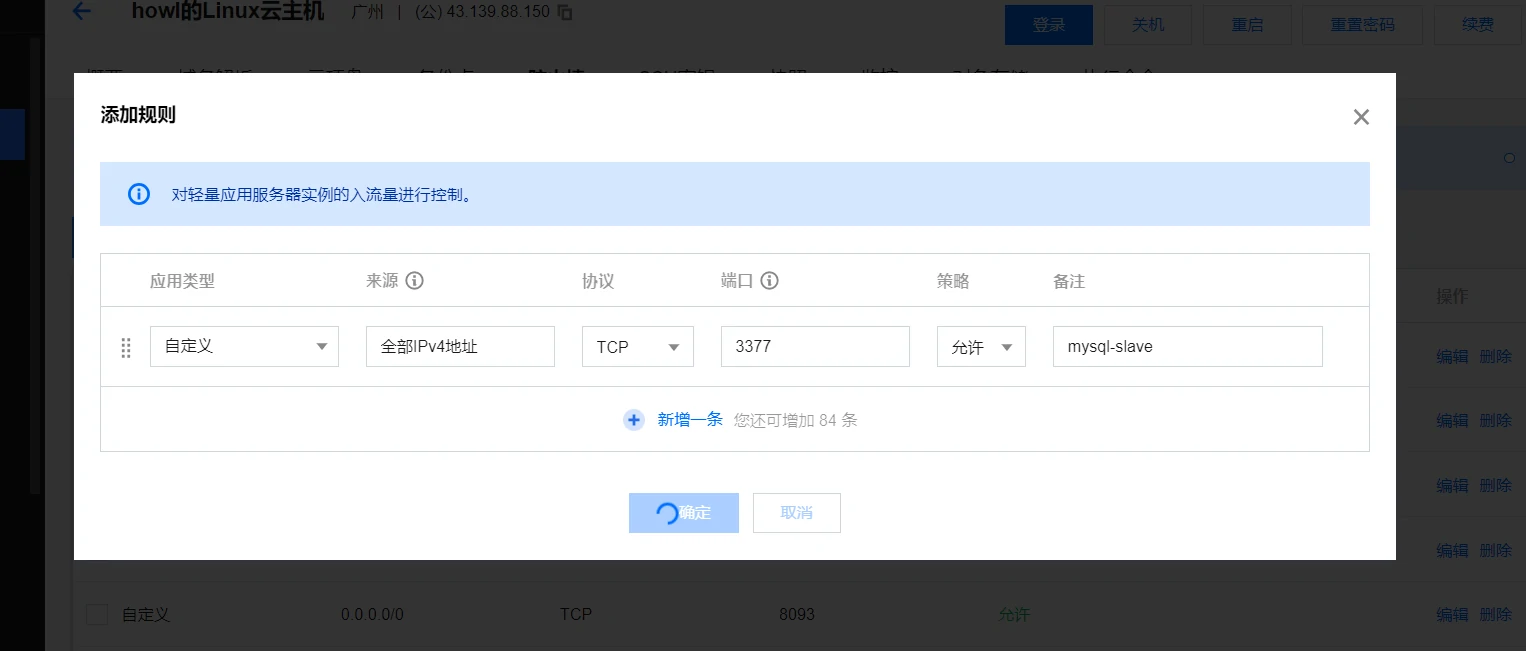
docker run --name mysql-slave -p 3377:3306 -e MYSQL_ROOT_PASSWORD=123456 -d mysql:5.7
# 4.验证主从节点是否存活且可用
确认docker容器存活
# 使用docker ps 可以看到2个容器存活
[root@VM-8-5-centos ~]# docker ps
CONTAINER ID   IMAGE       COMMAND                  CREATED          STATUS          PORTS                                                  NAMES
066cd47bca08   mysql:5.7   "docker-entrypoint.s…"   27 seconds ago   Up 26 seconds   33060/tcp, 0.0.0.0:3377->3306/tcp, :::3377->3306/tcp   mysql-slave
9b44e71684cc   mysql:5.7   "docker-entrypoint.s…"   37 seconds ago   Up 36 seconds   33060/tcp, 0.0.0.0:3366->3306/tcp, :::3366->3306/tcp   mysql-master
开通相关端口的防火墙

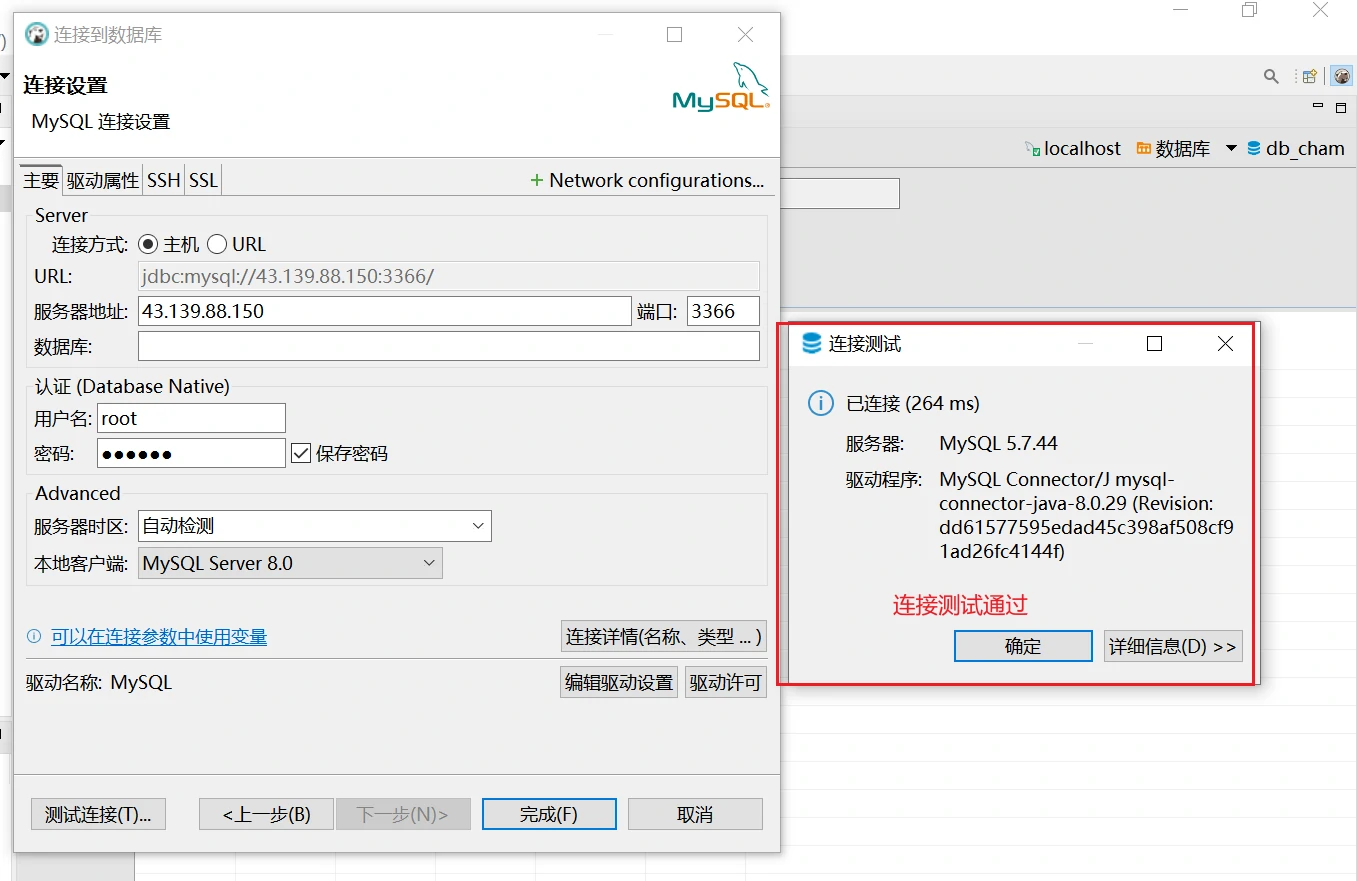
使用数据库客户端连接访问验证
# 5.配置主节点
进入到将要调整为主节点的mysql容器内部:
docker exec -it mysql-master /bin/bash
进入容器后,因为要修改配置文件内容,而该容器中默认没有vim编辑器,需要手动执行yum指令进行安装:
yum install -y vim
修改配置文件/etc/my.cnf,增加log-bin以及server-id,如下图:

退出容器,并使用 docker 指令重启容器。
[root@VM-8-5-centos ~]# docker restart mysql-master
mysql-master
# 6.配置从节点
进入到将要调整为从节点的mysql容器内部:
docker exec -it mysql-slave /bin/bash
进入容器后,因为要修改配置文件内容,而该容器中默认没有vim编辑器,需要手动执行yum指令进行安装:
yum install -y vim
修改配置文件/etc/my.cnf,增加log-bin以及server-id,如下图:

退出容器,并使用 docker 指令重启容器。
[root@VM-8-5-centos ~]# docker restart mysql-slave
mysql-slave
# 7.创建主从复制-主
查看主节点容器的网桥中的ip地址,如下:
# 可以看到mysql-master容器的ip地址是172.17.0.2
[root@VM-8-5-centos ~]# docker inspect mysql-master
#### 重点关注网桥这一块,这里其实是宿主机的内容,这部分查询结果有调整,省略了其余不关注部分
"Networks": {
    "bridge": {
        "IPAMConfig": null,
        "Links": null,
        "Aliases": null,
        "MacAddress": "02:42:ac:11:00:02",
        "NetworkID": "b7ae68ab2a08db8d0e34c9d23ae183fef976e9e36da25248b519b4efdd589cb4",
        "EndpointID": "8fca87bc651f8a5b51f2b69501279edbcba54fd1bf1b3c39b12080e0aa8cb40c",
        "Gateway": "172.17.0.1",
        #### 当前容器的ip地址
        "IPAddress": "172.17.0.2",
        "IPPrefixLen": 16,
        "IPv6Gateway": "",
        "GlobalIPv6Address": "",
        "GlobalIPv6PrefixLen": 0,
        "DriverOpts": null,
        "DNSNames": null
    }
}
进入到主节点mysql容器
[root@VM-8-5-centos ~]# docker exec -it mysql-master /bin/bash
通过mysql指令进入mysql服务
bash-4.2# mysql -u root -p
Enter password:
Welcome to the MySQL monitor.  Commands end with ; or \g.
Your MySQL connection id is 3
Server version: 5.7.44-log MySQL Community Server (GPL)

Copyright (c) 2000, 2023, Oracle and/or its affiliates.

Oracle is a registered trademark of Oracle Corporation and/or its
affiliates. Other names may be trademarks of their respective
owners.

Type 'help;' or '\h' for help. Type '\c' to clear the current input statement.

mysql>
创建负责同步binlog日志的用户,并分配相应的权限
mysql> grant replication slave on *.* to 'slave_user'@'%' identified by '123456';
Query OK, 0 rows affected, 1 warning (0.00 sec)
查看主节点binlog信息
mysql> show master status;
+----------------+----------+--------------+------------------+-------------------+
| File           | Position | Binlog_Do_DB | Binlog_Ignore_DB | Executed_Gtid_Set |
+----------------+----------+--------------+------------------+-------------------+
| bin_log.000001 |      443 |              |                  |                   |
+----------------+----------+--------------+------------------+-------------------+
1 row in set (0.00 sec)
# 8.创建主从复制-从
进入到从节点mysql容器
[root@VM-8-5-centos ~]# docker exec -it mysql-slave /bin/bash
通过mysql指令进入mysql服务
bash-4.2# mysql -u root -p
Enter password:
Welcome to the MySQL monitor.  Commands end with ; or \g.
Your MySQL connection id is 2
Server version: 5.7.44-log MySQL Community Server (GPL)

Copyright (c) 2000, 2023, Oracle and/or its affiliates.

Oracle is a registered trademark of Oracle Corporation and/or its
affiliates. Other names may be trademarks of their respective
owners.

Type 'help;' or '\h' for help. Type '\c' to clear the current input statement.

mysql>
使用上面得到的master节点IP地址(172.17.0.2),及得到的master节点binlog信息(bin_log.000001),在从节点中进行同步设置
mysql> change master to master_host='172.17.0.2',master_user='slave_user',master_password='123456',master_log_file='bin_log.000001',master_log_pos=443;
Query OK, 0 rows affected, 2 warnings (0.05 sec)
在从节点启动主从复制
mysql> start slave;
Query OK, 0 rows affected (0.01 sec)
查看从节点主从复制的状态
mysql> show slave status \G;
*************************** 1. row ***************************
               Slave_IO_State: Waiting for master to send event
                  Master_Host: 172.17.0.2
                  Master_User: slave_user
                  Master_Port: 3306
                Connect_Retry: 60
              Master_Log_File: bin_log.000001
          Read_Master_Log_Pos: 443
               Relay_Log_File: 066cd47bca08-relay-bin.000002
                Relay_Log_Pos: 318
        Relay_Master_Log_File: bin_log.000001
            # 这里是YES,代表主从同步正常
            Slave_IO_Running: Yes
            # 这里是YES,代表主从同步正常
            Slave_SQL_Running: Yes
              Replicate_Do_DB:
          Replicate_Ignore_DB:
           Replicate_Do_Table:
       Replicate_Ignore_Table:
      Replicate_Wild_Do_Table:
  Replicate_Wild_Ignore_Table:
                   Last_Errno: 0
                   Last_Error:
                 Skip_Counter: 0
          Exec_Master_Log_Pos: 443
              Relay_Log_Space: 532
              Until_Condition: None
               Until_Log_File:
                Until_Log_Pos: 0
           Master_SSL_Allowed: No
           Master_SSL_CA_File:
           Master_SSL_CA_Path:
              Master_SSL_Cert:
            Master_SSL_Cipher:
               Master_SSL_Key:
        Seconds_Behind_Master: 0
Master_SSL_Verify_Server_Cert: No
                Last_IO_Errno: 0
                Last_IO_Error:
               Last_SQL_Errno: 0
               Last_SQL_Error:
  Replicate_Ignore_Server_Ids:
             Master_Server_Id: 1
                  Master_UUID: 0def66fd-e735-11ee-b05b-0242ac110002
             Master_Info_File: /var/lib/mysql/master.info
                    SQL_Delay: 0
          SQL_Remaining_Delay: NULL
      Slave_SQL_Running_State: Slave has read all relay log; waiting for more updates
           Master_Retry_Count: 86400
                  Master_Bind:
      Last_IO_Error_Timestamp:
     Last_SQL_Error_Timestamp:
               Master_SSL_Crl:
           Master_SSL_Crlpath:
           Retrieved_Gtid_Set:
            Executed_Gtid_Set:
                Auto_Position: 0
         Replicate_Rewrite_DB:
                 Channel_Name:
           Master_TLS_Version:
1 row in set (0.00 sec)
# 这个报错是\G导致的,不用管
ERROR:
No query specified

mysql>
# 9.验证主从同步结果
进入主节点容器,同时使用mysql root用户登录
[root@VM-8-5-centos ~]# docker exec -it mysql-master /bin/bash
bash-4.2# mysql -u root -p
Enter password:
Welcome to the MySQL monitor.  Commands end with ; or \g.
Your MySQL connection id is 5
Server version: 5.7.44-log MySQL Community Server (GPL)

Copyright (c) 2000, 2023, Oracle and/or its affiliates.

Oracle is a registered trademark of Oracle Corporation and/or its
affiliates. Other names may be trademarks of their respective
owners.

Type 'help;' or '\h' for help. Type '\c' to clear the current input statement.

mysql>
在主节点创建数据库,数据表,在表中插入数据
mysql> create database db_test;
Query OK, 1 row affected (0.01 sec)

mysql> use db_test;
Database changed
mysql> create table t_student(id int,name varchar(10));
Query OK, 0 rows affected (0.03 sec)

mysql> insert into t_student values(1,'xuhaodi');
Query OK, 1 row affected (0.01 sec)

mysql> select * from t_student;
+------+---------+
| id   | name    |
+------+---------+
|    1 | xuhaodi |
+------+---------+
1 row in set (0.00 sec)
进入从节点容器,同时使用mysql root用户登录
[root@VM-8-5-centos ~]# docker exec -it mysql-slave /bin/bash
bash-4.2# mysql -u root -p
Enter password:
Welcome to the MySQL monitor.  Commands end with ; or \g.
Your MySQL connection id is 5
Server version: 5.7.44-log MySQL Community Server (GPL)

Copyright (c) 2000, 2023, Oracle and/or its affiliates.

Oracle is a registered trademark of Oracle Corporation and/or its
affiliates. Other names may be trademarks of their respective
owners.

Type 'help;' or '\h' for help. Type '\c' to clear the current input statement.

mysql>
查看数据库,数据表,数据是否同步从库
mysql> show databases;
+--------------------+
| Database           |
+--------------------+
| information_schema |
| db_test            |
| mysql              |
| performance_schema |
| sys                |
+--------------------+
5 rows in set (0.01 sec)

mysql> use db_test
Reading table information for completion of table and column names
You can turn off this feature to get a quicker startup with -A

Database changed

mysql> show tables;
+-------------------+
| Tables_in_db_test |
+-------------------+
| t_student         |
+-------------------+
1 row in set (0.00 sec)

mysql> select * from t_student;
+------+---------+
| id   | name    |
+------+---------+
|    1 | xuhaodi |
+------+---------+
1 row in set (0.00 sec)
# 这里还额外做了一个删从库表的操作,发现可以正常删除,最好能做到从库不能做写操作
# 可以在从库里增加read_only=1来禁止在从库上做修改操作
# 设置结果可以通过show variables like '%read_only%';查看
# 该设置对root用户不生效
mysql> drop table t_student;
Query OK, 0 rows affected (0.01 sec)

mysql> show tables;
Empty set (0.00 sec)
# 运维事件发生-对mysql主从集群做读写分离
# 事件描述
上面搭建的mysql主从集群还要做读写分离的限制。
# 事件处理
# 1.修改mysql从节点的配置
进入到将要调整为从节点的mysql容器内部:
docker exec -it mysql-slave /bin/bash
进入容器后,修改配置文件/etc/my.cnf,增加read_only配置,如下图:

退出容器,并使用 docker 指令重启容器。
[root@VM-8-5-centos ~]# docker restart mysql-slave
mysql-slave
# 2.主库中创建用户,授予数据库权限
创建用户howl,创建用户的操作会同步给从库
mysql> CREATE USER 'howl'@'%' IDENTIFIED BY '123456';
Query OK, 0 rows affected (0.01 sec)
对用户howl配置db_test的权限,用户权限的配置也会同步给从库
mysql> GRANT ALL PRIVILEGES ON `db_test`.* TO 'howl'@'%' WITH GRANT OPTION;
Query OK, 0 rows affected (0.01 sec)
# 3.验证从库中是否可以删除表数据
使用用户howl访问从库,删除t_student表中的数据,会报错,提示无法删除,如下:

# 4.验证主库中是否可以删除表数据
使用用户howl访问主库,删除t_student表中的数据,数据成功删除,切换从库查看,如下:

# 运维事件发生-将查询结果重定向到文件
# 事件描述
生产环境需要查询mysql数据,以文本形式获取查询结果。
# 事件处理
登录需要导出数据的mysql服务器,使用如下指令执行即可。
## -u 用户名
## -p 密码
## -D 数据库
## -e 执行的语句
## > 重定向标志
mysql -u nacos -p -D db_kieoo -e "SELECT * FROM kieoo_video where 1=1;" > /app/data4howl.txt;
# 运维事件处理-在服务器上直接执行脚本
- 使用mysqldump指令备份数据库
- 将mysql的sql脚本上传到服务器的/app目录,脚本的名称为test.sql
- 执行mysql -u username -p -D database_name < /app/test.sql 指令来执行sql
- 也可以登录mysql,执行use database;指令选中数据库后再执行source /app/test.sql;来执行脚本
# 运维事件处理-修改用户密码
# 事件描述
安全部门告知测试环境服务器上部署的MySQL服务某一个用户名的口令是弱密码,需要修改为符合安全要求的密码。
# 事件处理
获取到root权限后,使用如下指令登录mysql服务
mysql
将当前正在使用的数据库切换为Mysql自带的mysql数据库
# 查看当前都有哪些数据库存在
show databases;
# 切换当前库为mysql库
use mysql;
查找user表,查看用户以及用户对应的host信息
# 查看用户以及用户对应的host信息
select user,host from user;
修改用户的密码
# 修改用户的密码,这里'xxx'对应用户名,'KYxxxxxx'对应密码
alter user 'xxx'@'%' identified by 'KYxxxxxx';
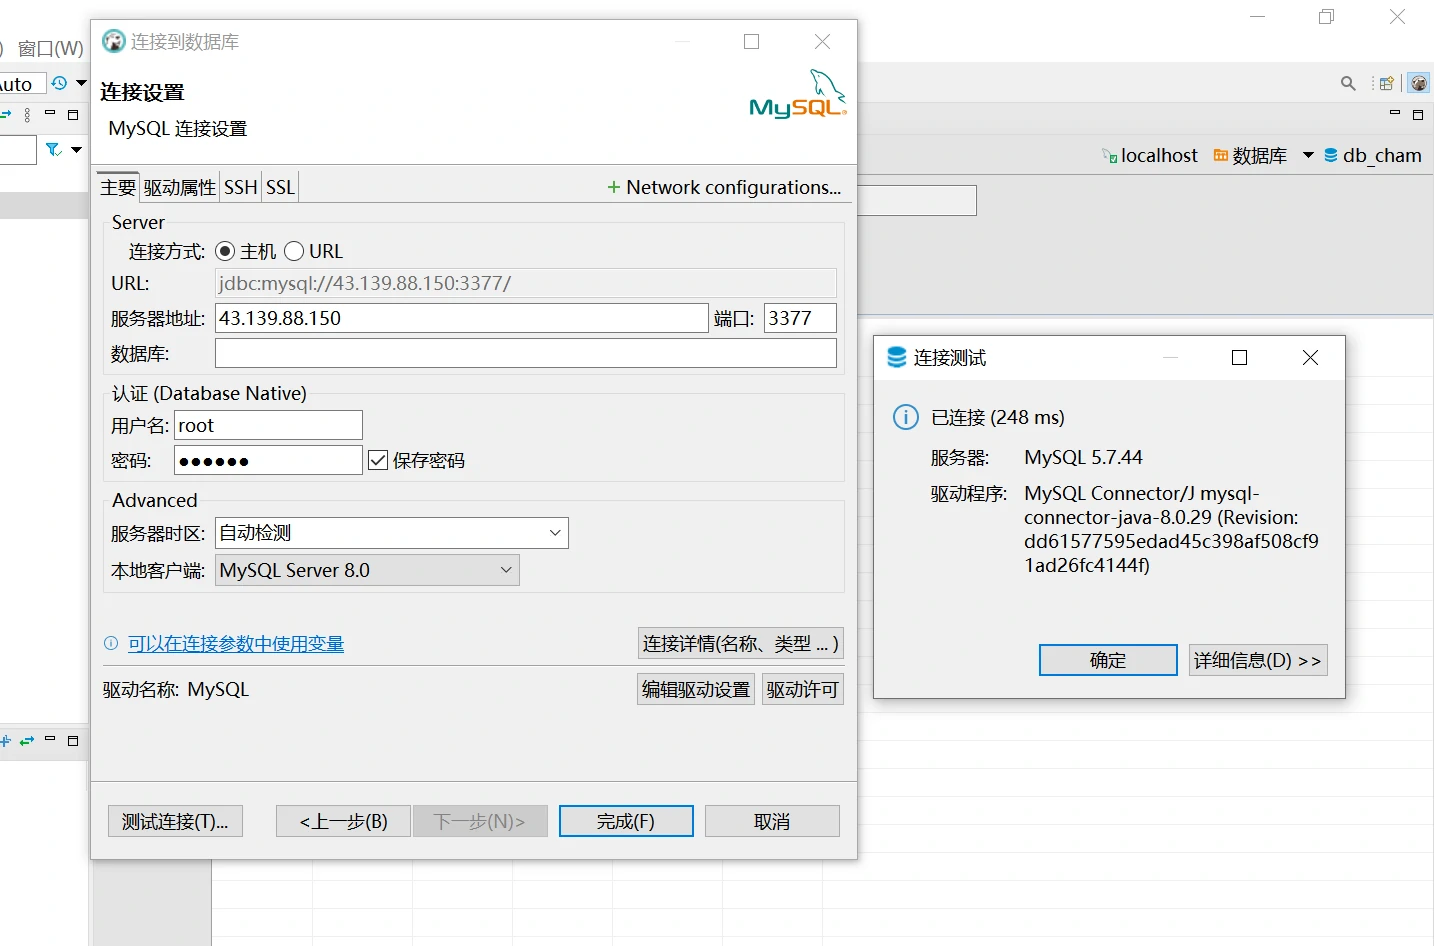
使用dbeaver登录的方式进行一下简单的验证,验证无异常后将用户名及新密码告知应用系统开发,配合在应用系统中修改
# 运维事件处理-Mysql安装
上传&解压缩Mysql安装包
使用FTP工具将Mysql安装包上传到指定路径,如/app/mysql,同时使用tar -xvf mysql-8.0.32-linux-glibc2.12-x86_64.tar.xz 指令解压缩安装包。
创建数据仓库
使用mkdir指令创建数据仓库

添加环境变量
使用vim指令编辑/etc/profile文件
vim etc/profile
将mysql增加到PATH路径(与JAVA在win下设置环境一致):

重载以及查看配置文件,可以看到mysql的启动路径已经包含到配置文件中

修改mysql配置
通过查找mysql配置,发现有如下4个配置加载路径,我们使用/etc/my.cnf

设置mysql路径以及data数据存放路径

添加操作mysql的组与用户,同时增加访问权限

初始化mysql 使用mysqld --initialize --user=howl 指令初始化mysql,这里生成了一个临时密码,需要及时修改(不修改会影响远程连接操作)

启动mysql 启动mysql需要使用设置的howl用户,mysql不允许使用root用户启动。
如何在Linux系统中安装MySQL数据库 (opens new window)
# 运维事件处理-Mysql版本升级
由于系统中存在安全漏洞,需要将Mysql从8.0.32版本升级到8.0.34版本。咨询了dba之后得到的答案是先备份数据,然后卸载旧库后安装新库。(在尝试了安装MySQL8.0.32之后发现升级思路其实照下面流程操作即可,且dba提供了支持做了升级,故没有实操。)
备份数据
备份数据需要使用root用户或等价权限用户(如非root用户,需要申请show view权限)
mysqldump -u root -p --add-drop-table --routines --events --all-databases --force > all.sql
备份mysql配置文件
cp /etc/my.cnf ./停止Mysql服务
service mysql stop
- 卸载旧库
  rpm -qa | grep mysql
  rpm -e mysql-XXX
- 安装新库
  tar -zxvf mysql-<version>.tar.gz
  cd mysql-<version>
  sudo make
  sudo make install
- 启动服务
service mysql start
- 运行升级脚本
mysql_upgrade
# 运维事件处理-SQL脚本执行
可以使用source指令执行sql脚本,如下:
mysql>source /root/test.sql;
# 显示用户的授权
可以使用show grants for user指令查看用户的授权,如下:
mysql>show grants for userA;
# 查看 MySQL Server 参数
MySQL服务启动后,我们可以通过show variables以及show status命令查看MySQL的相关参数。
- show variables
用于查看数据库启动后不会动态更改的配置,如缓冲区大小,字符集,数据文件名称等。 - show status
用于查询数据库启动后动态更改的配置,如锁等待,当前连接数等。